
Fabricating Dentures

I'm going to do things a little bit differently then my September or October Day in the Life posts.We're going to skip the usual fluff & just focus on the dental experience of a second year student. We have started learning how to make dentures and while it is exciting, it's also excruciatingly time consuming.


Step 1: Take an initial impression of the patient
The model(left) above was meant to serve as our "simulated" patient. Notice the complete lack of teeth in the model? I'm about to build him a denture. Initially, you use a generic tray to take an impression of the patient and then you send them home. Meanwhile you use this impression to make replica of the patient's gums.
 |
| Trimming my Custom Tray |
Step 2: Use the replica to Make a Custom Tray
From the stone replica, we made a custom tray. This tray is specifically meant to fit that patients mouth exactly. Once my custom tray was made and nice and smooth, I was able to border mold.
 |
| Border Molding |
Step 3: Border Mold to Capture Surrounding Anatomy
Essentially you melt a compound onto the edges or border of your customized tray and then mold it to capture the surrounding anatomy of the patients mouth. The better job you do, the more anatomy you can capture, and the better the fit for the patients denture.

Step 4: Use custom tray to take a final impression of the patient
Once my custom tray was border molded, I went back to my "simulated" patients mouth to take a final impression. Again, it's all about capturing as much anatomy as possible in order to ensure that the dentures will fit well.
 |
| My nails match my final impression! |
Step 5: Make a final model of the patients mouth
Now that I have all the patients anatomy all captured, it's time to make another replica model. Only this one will be used to sit my denture on top of. So I cocoon my impression in wax, making a water tight seal.
 |
| All Cocooned and ready to be filled! |

Then I mixed up some stone and poured it into my little cocoon.
Let that sit and harden for 45 minutes.

Then Vola! Here is a completed model. But it looks a little rough so let's fix that....

By trimming my model on the sander.

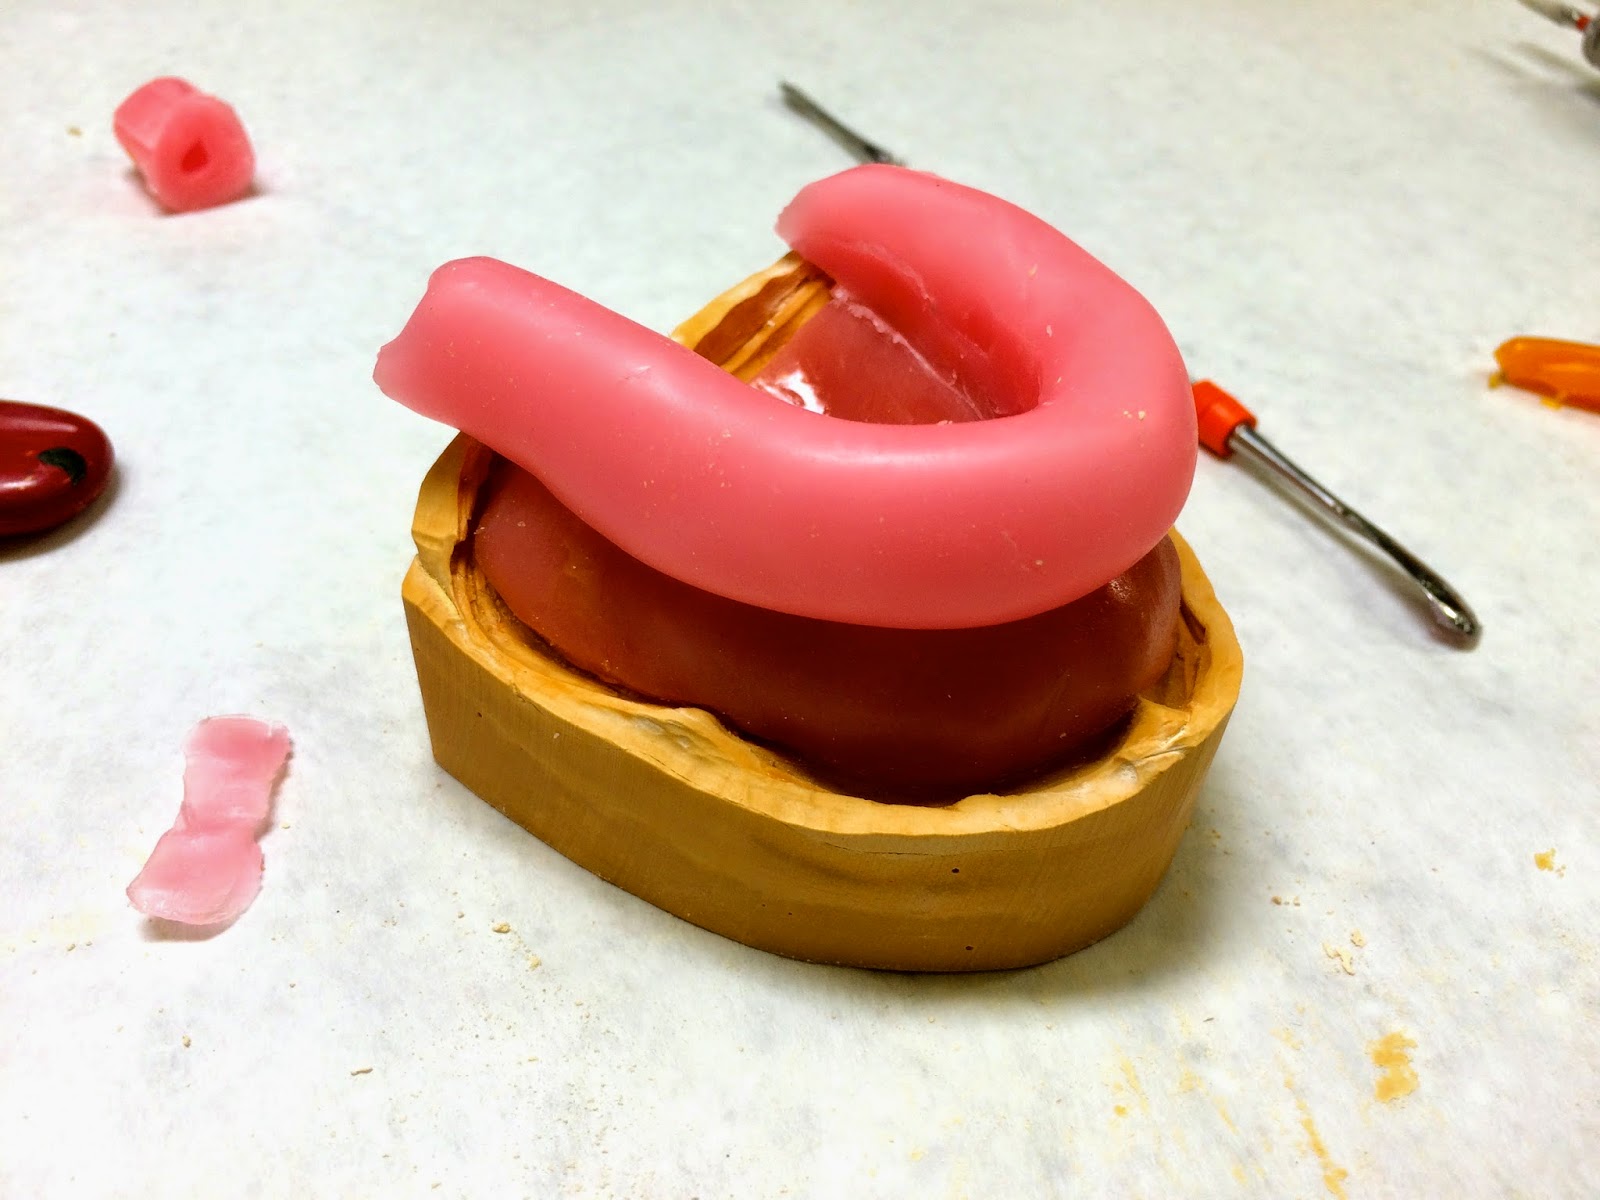
Step 6: Make Wax Rims
Are you still with me? Only a few more steps...I know I'm tired too. Next I cover my final model with a base material and pink wax. These are known as wax rims, where the pink wax functions as the new gums for the denture. This wax is extremely pliable to work with which allows me to adjust the positioning of the teeth while I place them.
Step 7: Mount Wax Rims & Place Teeth
It's definitely starting to look like a real denture. For those of you dental people, yes I know that the maxillary lateral is a little too distally inclined and that the canines are not contacting ( I fixed that before turning it in), but it's not horrible for a first attempt.

For the purposes of this post, I included each step of the denture making process, but in actuality the work being shown here was not accomplished in one day of lab. Rather it was a combination of several lab sessions, late week nights, and weekend time. In fact, it took me 39 hours to be exact. So there you have it folks...a day in my current life.
Thanks for reading
Wow, this is so interesting. And looks like a very complex work!
ReplyDeleteThanks for taking the time to share this wonderful post with us. I enjoyed seeing the amazing work that you do by seeing it through your photos. Have a fantastic rest of your weekend.
ReplyDeleteDentist Philadelphia